Chad Tyson’s farm-fresh 1963 Ford F-100 unibody is almost completely stock from nose to tail, from the 292-ci Y-block V8 to its granny-geared 4-speed and drum brakes. Compared to modern trucks, it’s slow and doesn’t stop well. But a driver can compensate for that by just leaving more room and never being in a hurry. Trucks like this are about enjoying the ride, right?
But summer is here, and if you want to actually use your old car or truck, you can’t avoid modern, slow-moving traffic. Creeping along in freeway gridlock on the way to a car show will have both you and your classic boiling over in no time.
So it’s time to address that vital cooling system and make it work better than it did when it was new — and that’s exactly what we did to this old workhorse, while attempting to maintain a stock-ish look that won’t stand out compared to the rest of the rig. Here’s how we did it.
Summit Racing Parts List
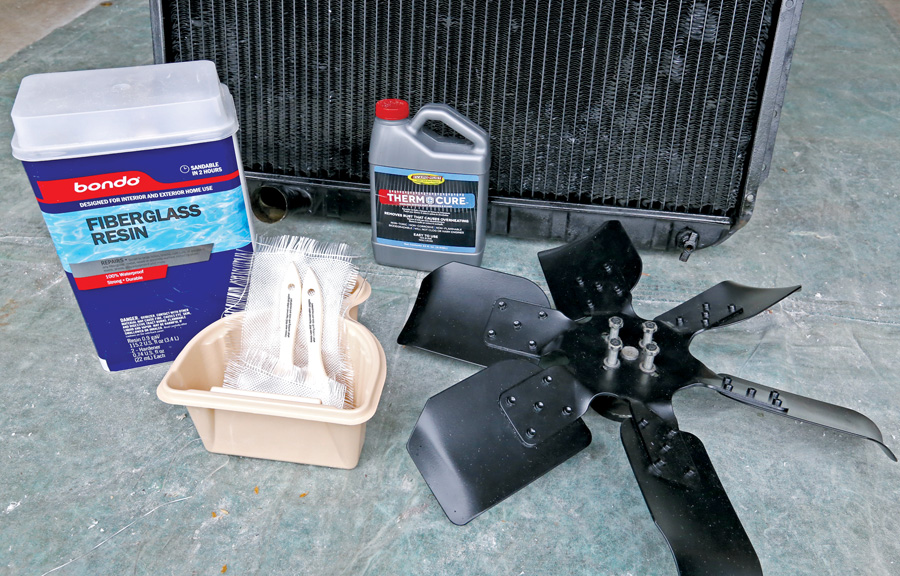
- Derale rigid fan, P/N DER-17318, $33.97
- Evapo-Rust Thermocure 32 oz., P/N SUM-TC001, $19.97
Other Parts
- Prestone antifreeze, 1 gallon, $12.47
- 2×4 Medium-Density Fiberboard (MDF), $7.42
- Bondo fiberglass resin, 1 gallon, $37.97
- Bondo fiberglass hardener, .74 oz., $5.77
- Bondo fiberglass cloth, 8 square feet, $6.97 (2)
- 0.7 mil plastic dropcloth, 9×12, $4.97
- Gloss black auto enamel, $4.10
- Paint primer, $5.27
- Stretch fabric, 1 yard, $6.99
- Brushes, paint cups, gloves, $15
Time spent: Six hours
Difficulty: 2/5
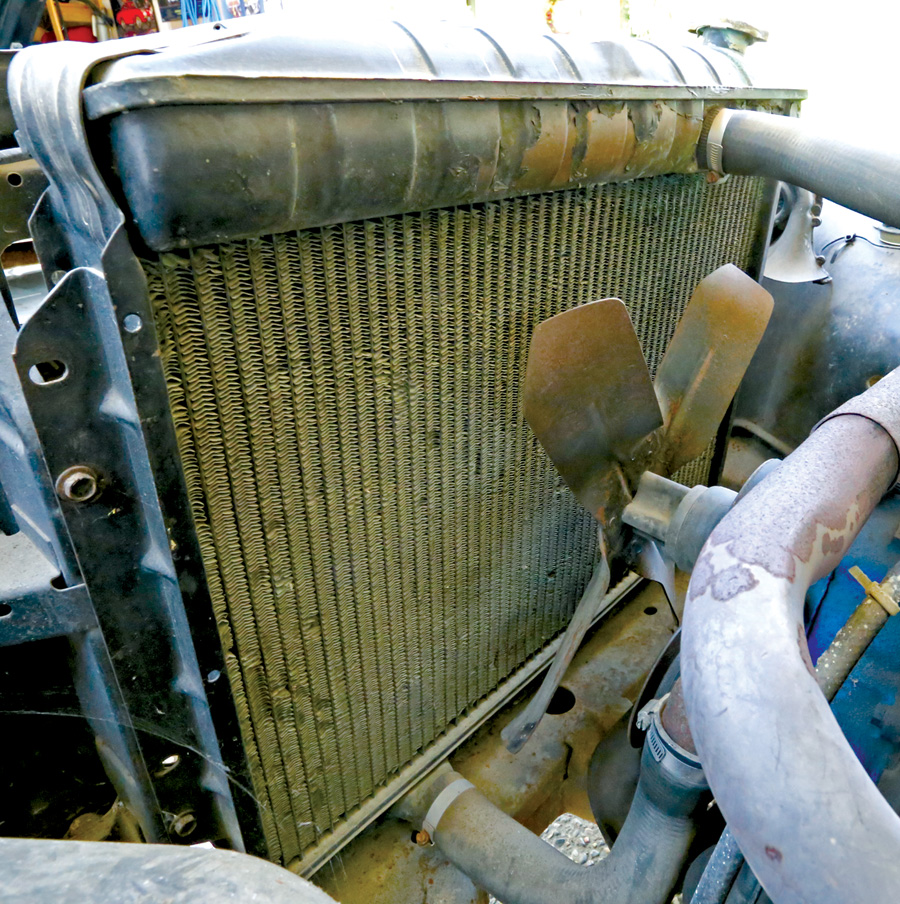 Back on the farm in Wyoming, this truck’s original cooling system was probably sufficient. But that four-blade fan spaced way back from the 54-year-old radiator isn’t going to cut it in modern city traffic, and an electric fan won’t look right and will tax the original generator-based charging system. Our solution: a bigger mechanical fan, a custom shroud, Evapo-Rust’s Thermocure treatment and some fresh Prestone coolant.
-
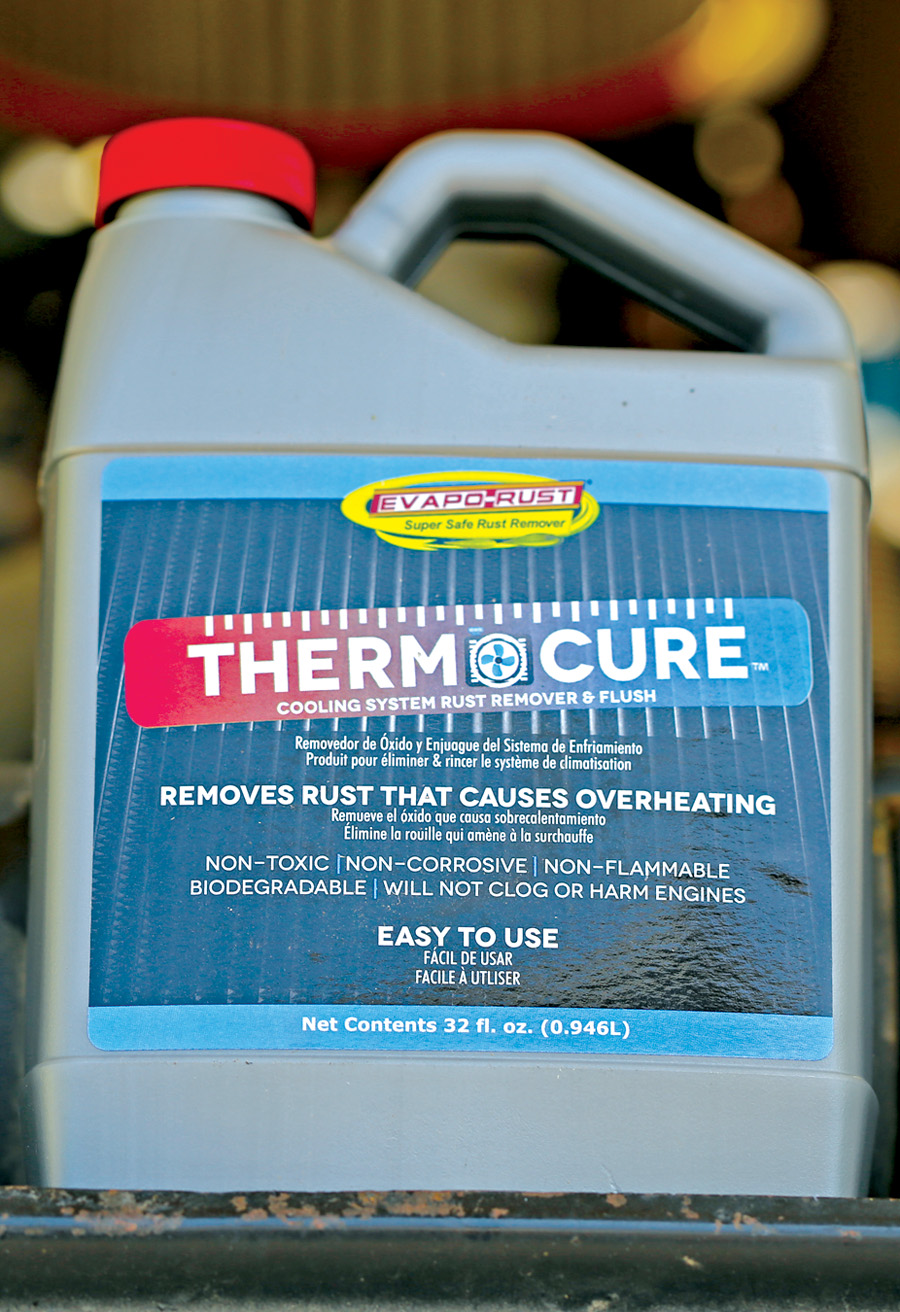
Thermocure is designed to clean out a vehicle’s entire cooling system — not just the radiator, but also the block, hoses and heater core. This stuff uses “selective chelation,” a process in which a large synthetic molecule bonds with metals and holds them in solution — specifically, in this case, the iron in iron oxide (aka rust). It’s also non-toxic, non-corrosive and biodegradable. -
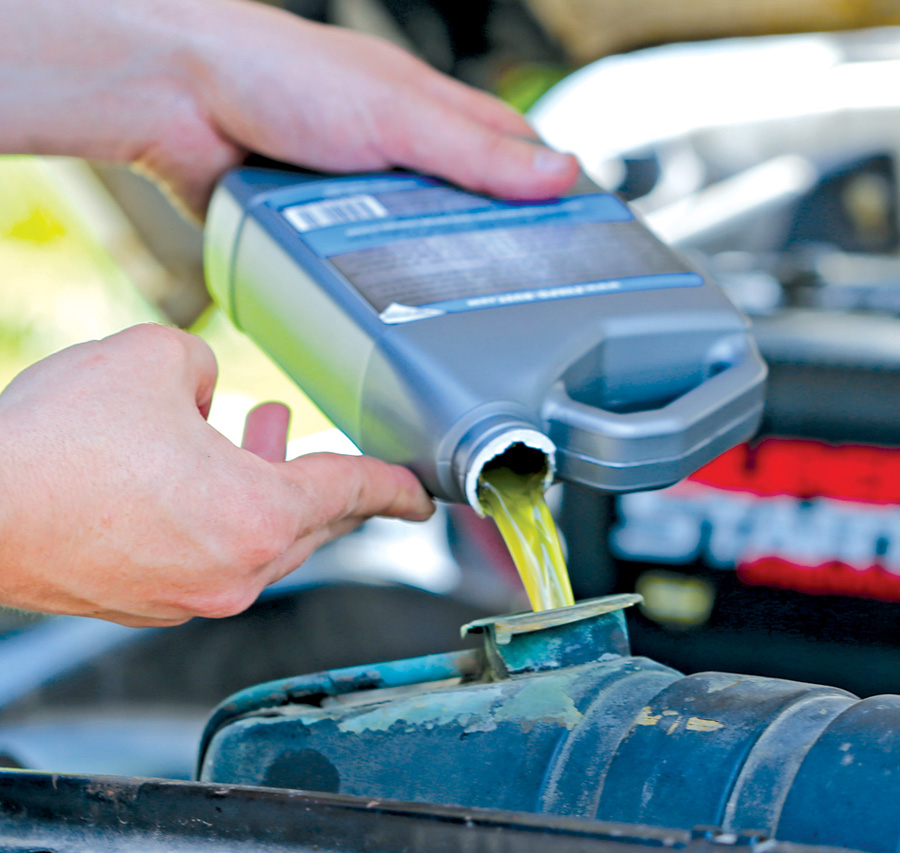
Using Thermocure is simple: Drain the coolant and refill the system with one 32-ounce bottle for every two gallons of water. Then run the car for a couple of hours up to a couple of days. In that time, it’ll clean out the system and free it of rust and other deposits that inhibit cooling over time. -
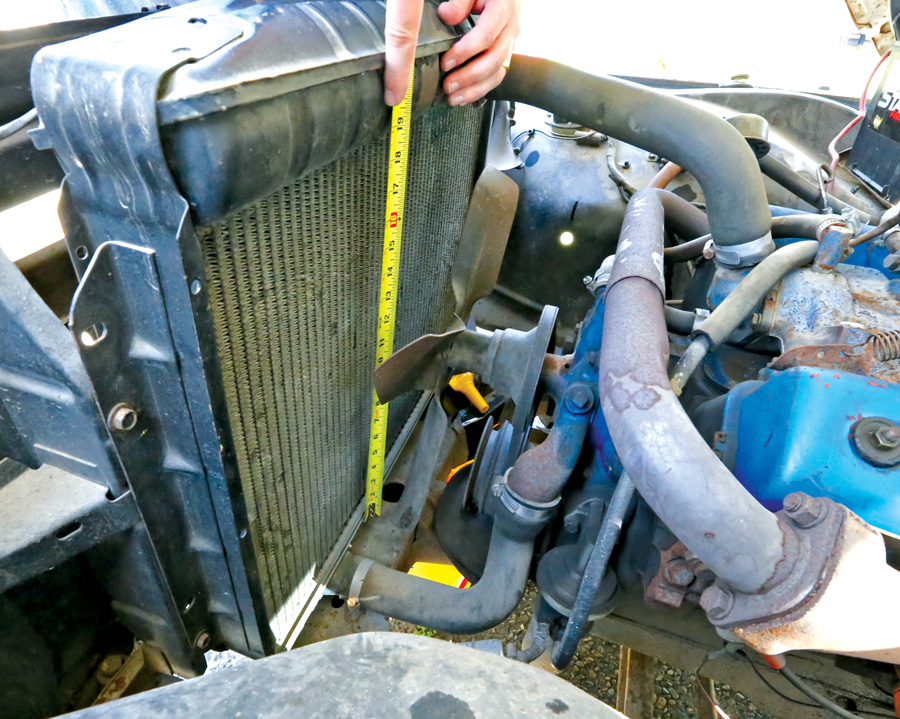
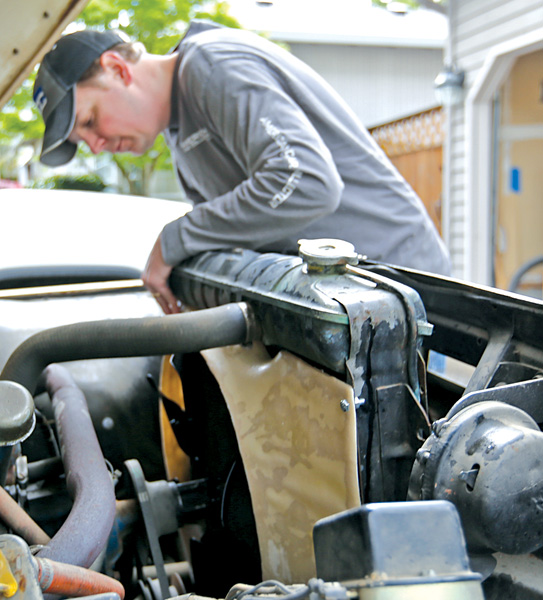
Fan shrouds direct the fan’s suction through the radiator, increasing its effectiveness. Chad’s research suggested that only the bigger-series Ford trucks had fan shrouds in this era, and finding an OE piece is tough. The only option here was to make our own out of fiberglass, so we started by measuring the width and height of the core to serve as a blueprint. Note the mounting holes in the radiator, which was likely the same unit used across the F-series line. -
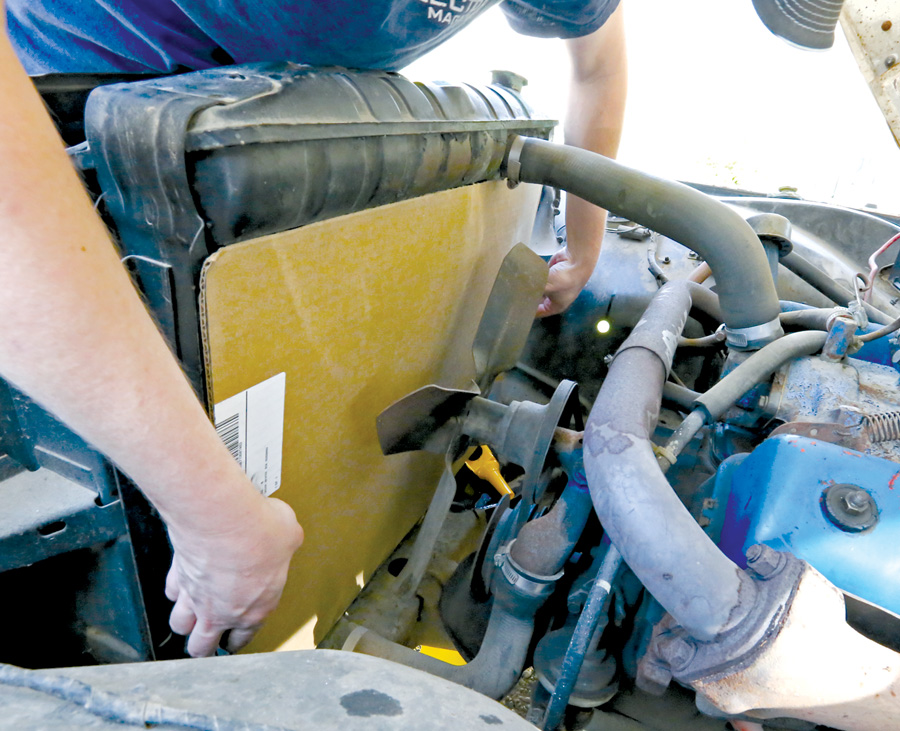
Next, we used a hunk of cardboard to verify the measurements we just took — in this case, 28 inches wide and 18½ inches tall. Making a cardboard template of the radiator, and the mounting holes, serves as a map that can be transferred to a wood template. -
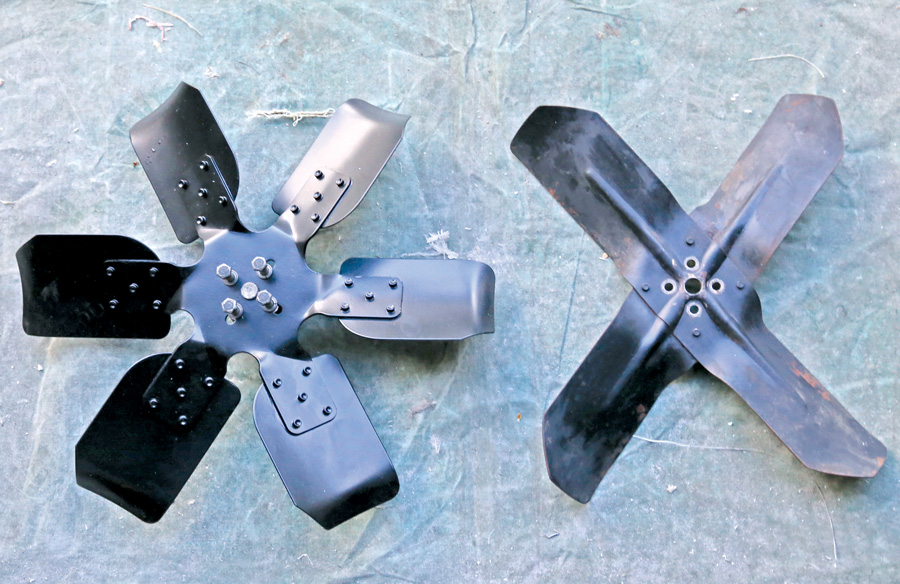
We know the shroud’s base measurements, but we also need to know the shroud’s depth. For that, we have to mount our new fan — a six-blade 18-inch Derale unit from Summit Racing (P/N DER-17318, $33.97). This unit has two more blades than the stock unit and is the same overall diameter. -
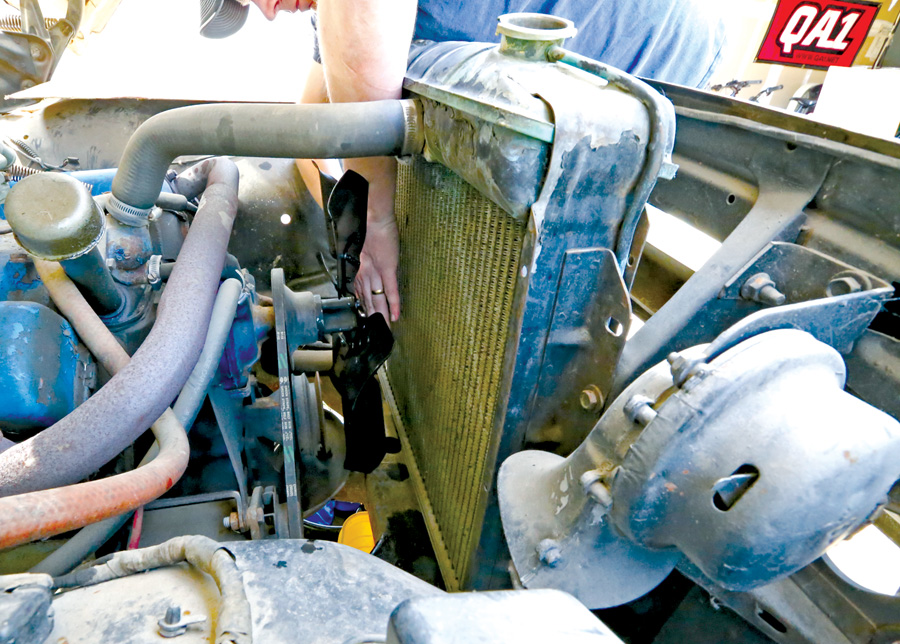
We bolted on the new fan, using the factory spacer and hardware, checking for clearance all around. This fan shared the same dimensions as the OE unit, but with considerably more air-moving ability. -
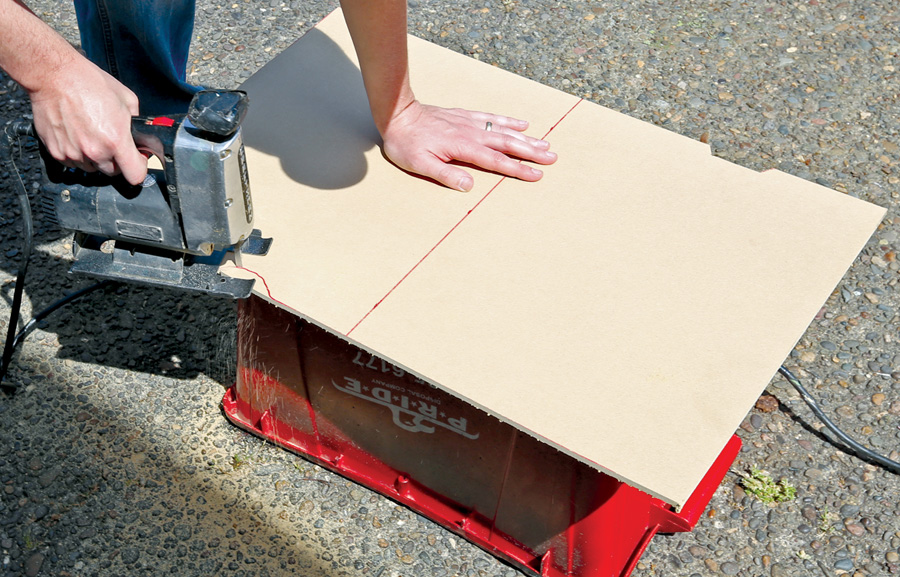
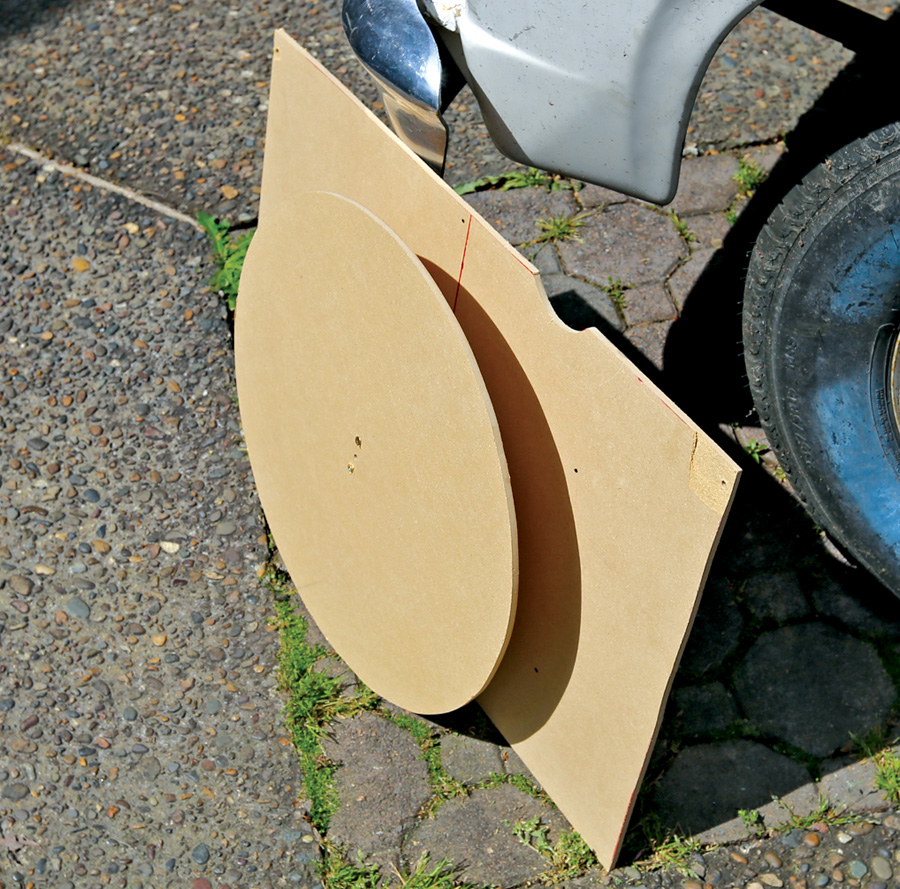
After transferring our cardboard template to a sheet of ¼-inch MDF composite wood, we cut out the shape with a jigsaw and drilled our marked mounting holes to match up with the holes in the radiator. -
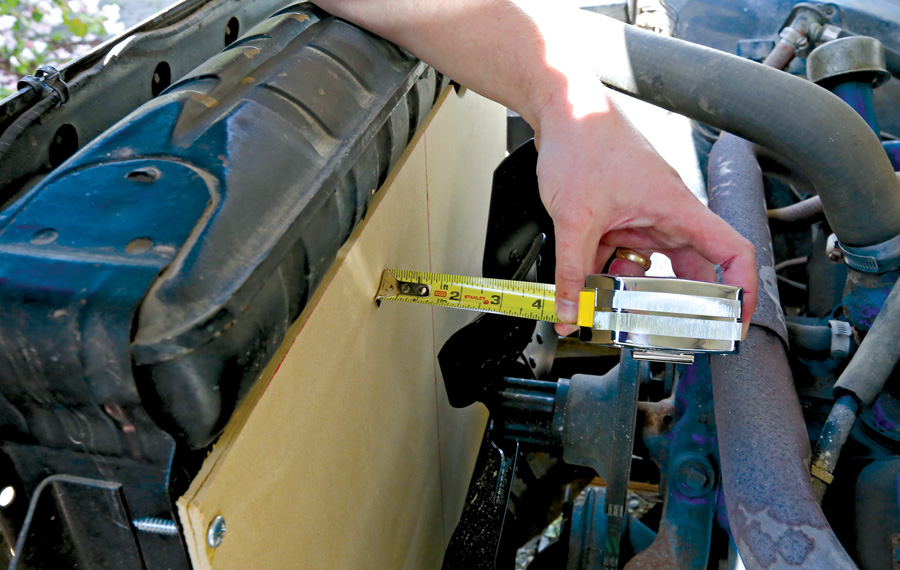
Once cut, we hung the MDF template on the radiator and measured depth to the middle of the fan’s blades. This gave us the overall depth of our shroud — 2¾ inches to the face of the MDF. Placing the fan with its blades half covered by the shroud promotes the best cooling. -
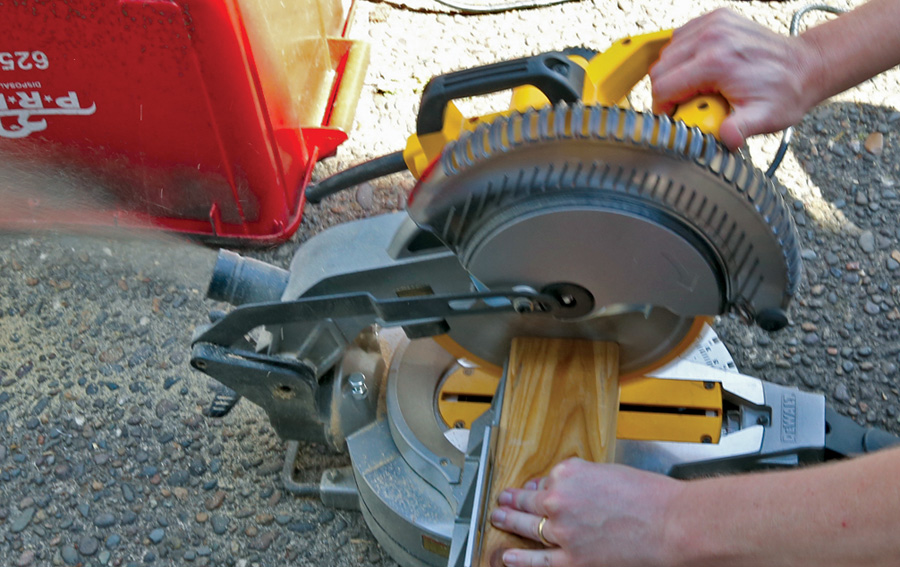
Next up: We cut a spacer from a cedar 4×4 post to 2¾ inches using a miter saw. -
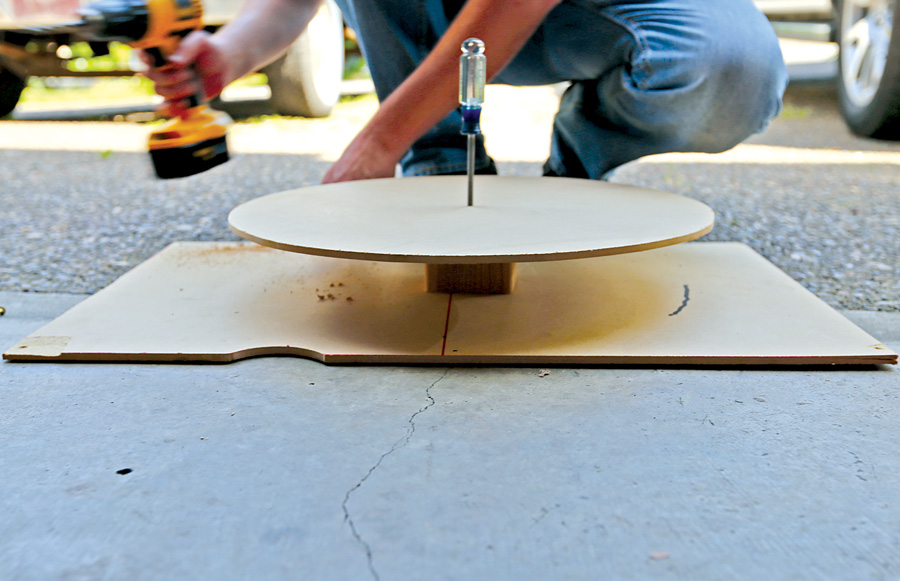
After cutting a 19-inch-diameter circle out of MDF with our jigsaw, we were in business — our fan is 18 inches, so this gave a half-inch of clearance between the fan and the shroud. We also drilled an alignment hole through the center of the circle, the 4×4 spacer and in the radiator template at the fan’s centerline in the truck — about an inch below the radiator core’s dead-center mark. We used a screwdriver to line everything up and woodscrews to hold the whole thing together. -
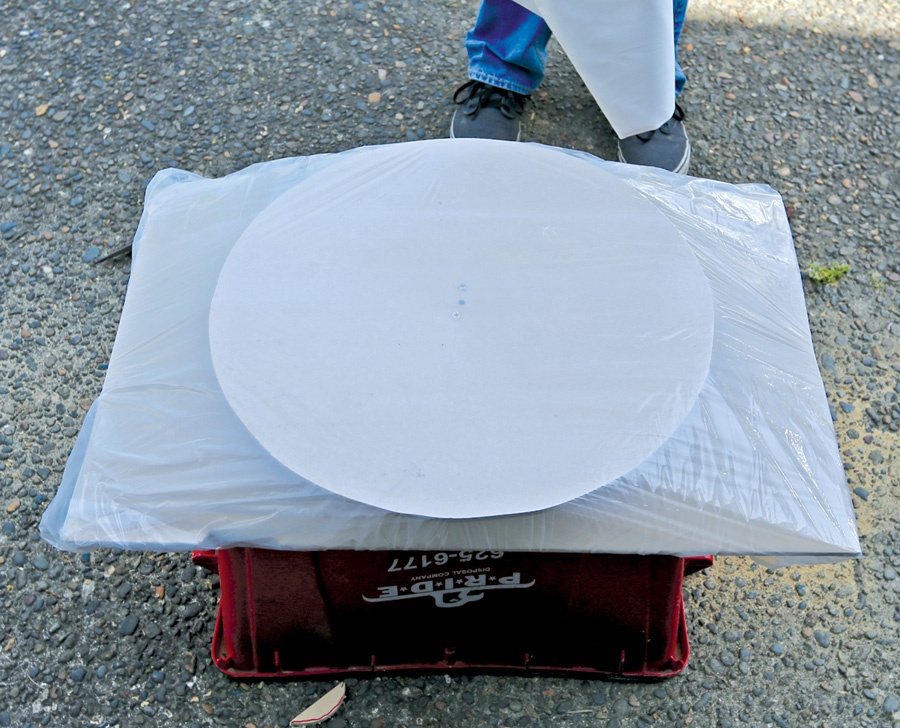
Fiberglass resin will stick to wood, so we lined our template with two layers of plastic drop cloth, pulled tight and stapled at the rear. -
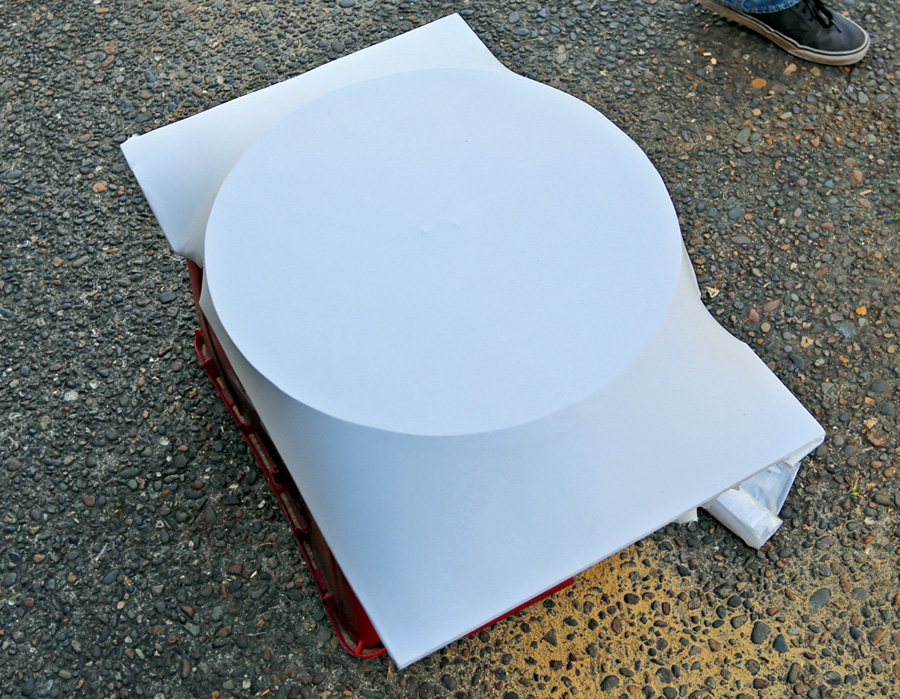
Stretchy sports cloth from a fabric store works great for this type of job. We covered the template with about a yard and pulled the fabric tight, stapling it down around the rear. Now the shape of the shroud is visible. -
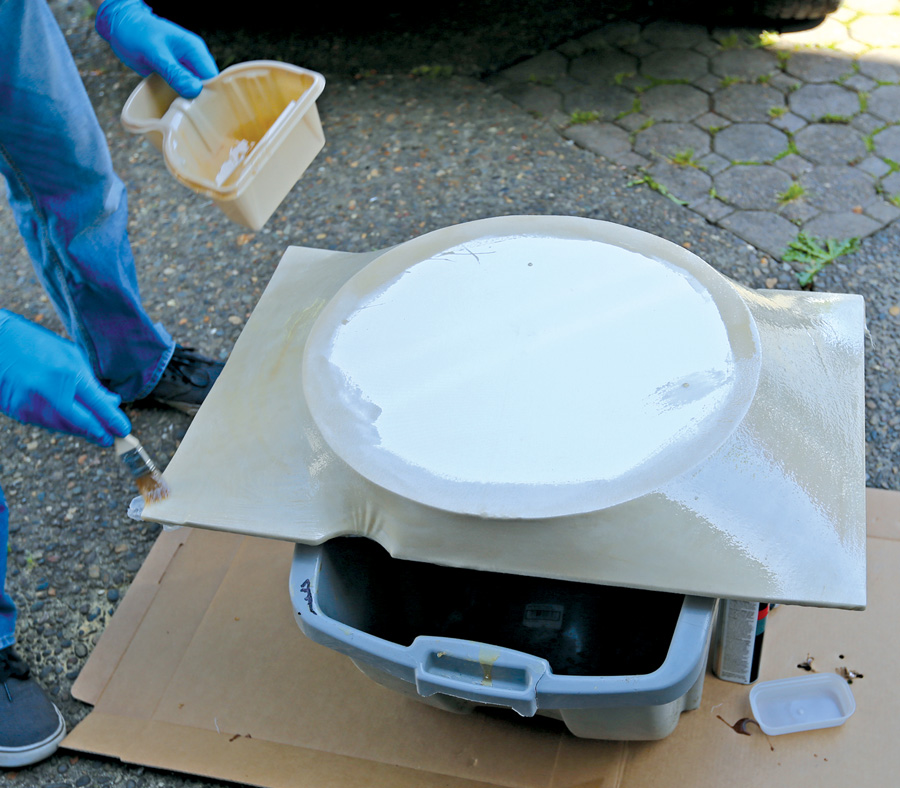
After mixing a batch of fiberglass resin and hardener, we painted on a thick coat over our stretched fabric buck. Gloves and a respirator are a must here, as this is a smelly, sticky mess. After letting the first coat set, we painted on two more. Plan to have a bunch of gloves on hand, as well as several brushes. -
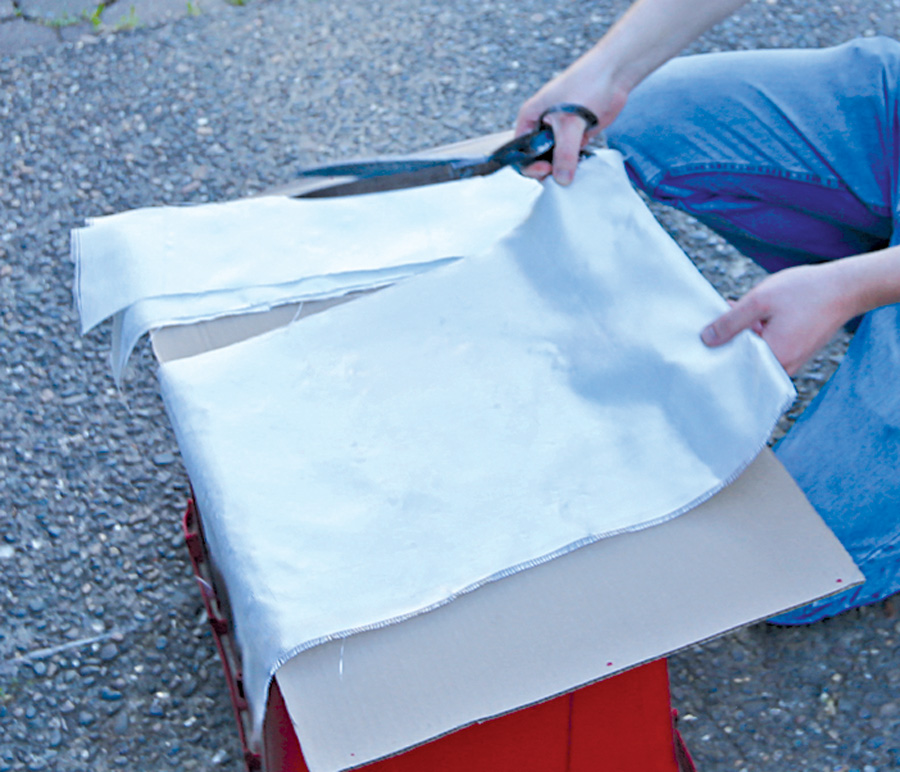
Resin-soaked cloth isn’t stiff enough for this job, so you need to add in fiberglass cloth. We prefer cutting the cloth into long three-inch-wide strips. -
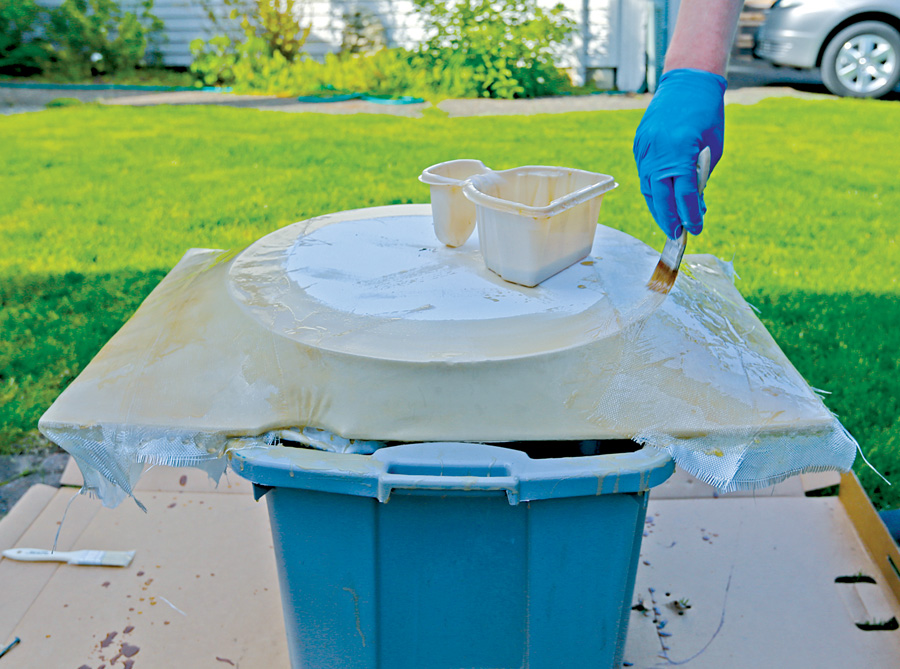
The process here is simple: Paint on a coating of resin to the surface, lay the cloth on it, flatten out any bubbles, and then paint another thick coat of resin over the top. We worked our way from one side to the other, and then let it all set. -

After the first layer set, we put down another, oriented in a different direction. We used three layers of fiberglass total, placed in various directions, over the resin-soaked fabric. -
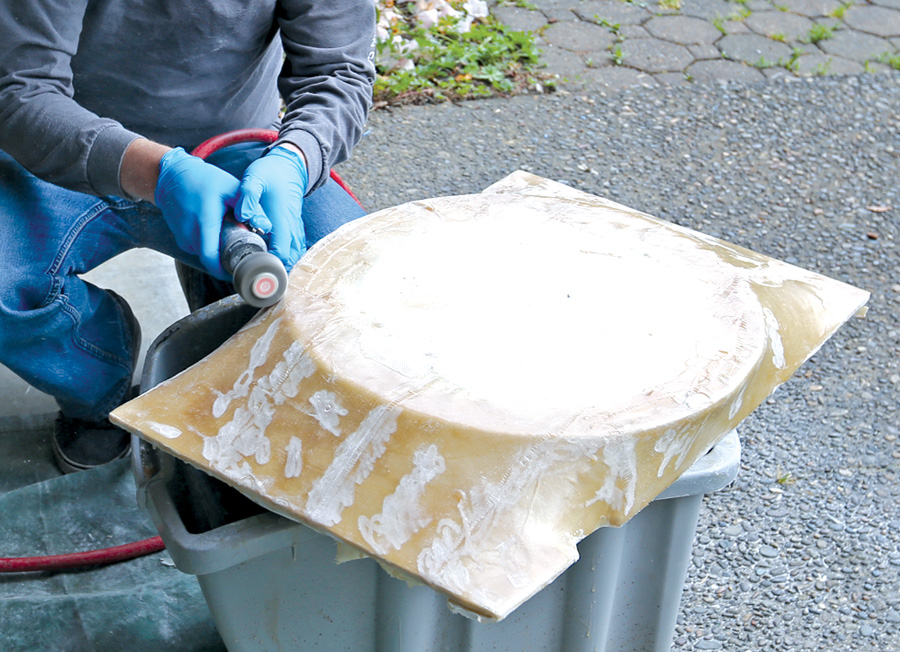
After a few hours of dry time, we had a solid and strong shroud to work with. I used a flapper wheel on a pneumatic die grinder to level out the visible seams, and a cutoff wheel to trim all the excess cloth from the edges. Again, gloves and a mask are a must here, as is a long-sleeve shirt. -
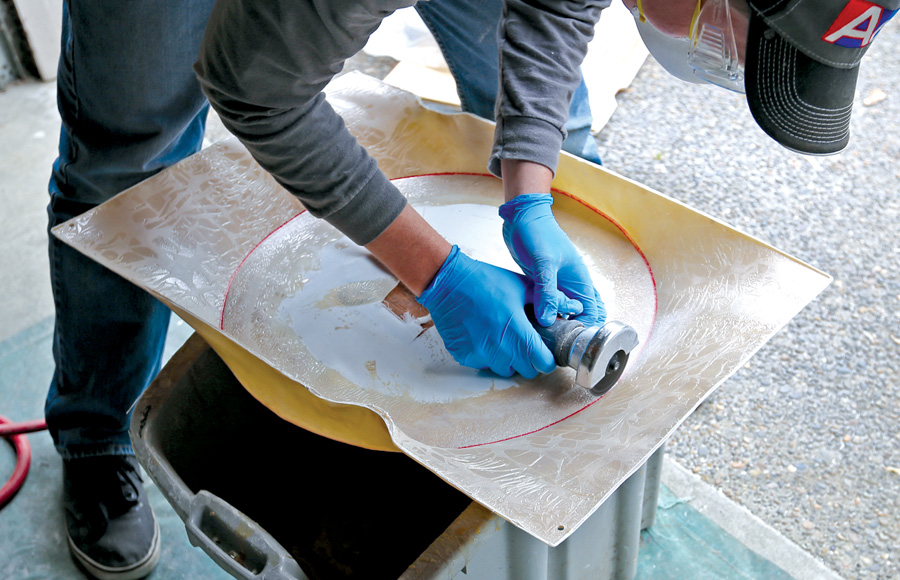
We used that cutoff wheel around the perimeter of the shroud to free it from the buck, and then flipped it over, scribed a line around the center circle, and cut it out as well, leaving us with a nice fiberglass shroud that fits the truck’s radiator. -
Using ¼-inch mounting hardware, we fit the shroud and made clearance as needed for it to sit up tight to the radiator core. Our measurements were correct — good fit and a solid half-inch of clearance all around the new fan. -
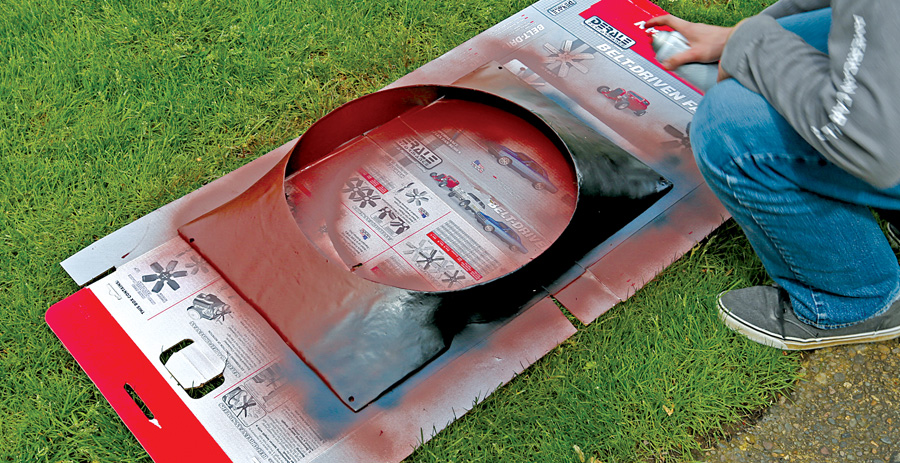
Fiberglass is not waterproof, so you need to seal it — you could use a gelcoat, but we elected to prime and paint this shroud instead -
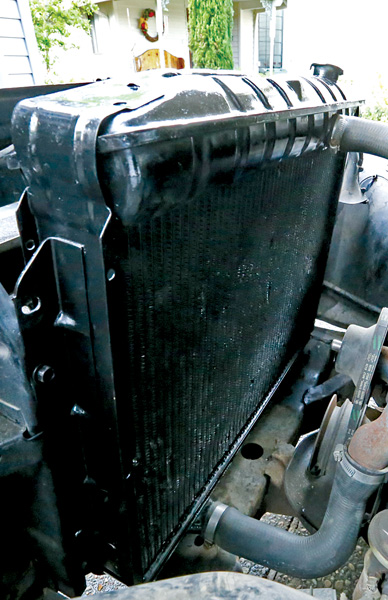
With mockup complete, we also drained out the Thermocure, removed the radiator, cleaned the upper and lower tanks with a wire brush, blasted all the Wyoming dirt from the core with compressed air, and painted the whole unit with gloss-black enamel. After the paint set, reassembly was a snap. -
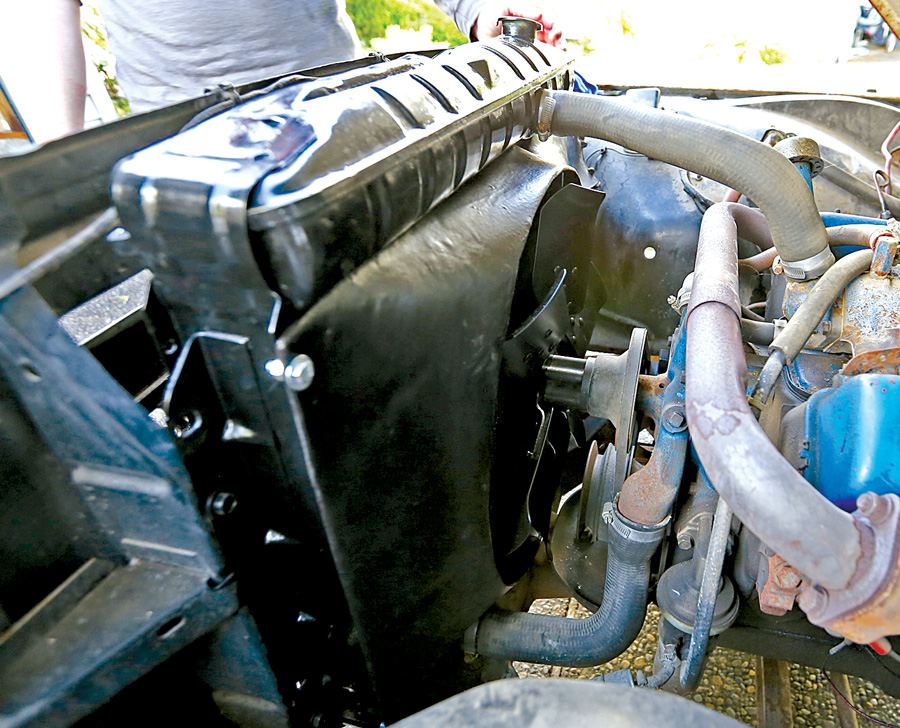
After hanging the new shroud over the water pump, we installed the new fan for the final time and bolted the new shroud to the core using four ¾-inch long ¼-inch bolts, nuts, washers to spread out the load, and lock washers to hold it all tight. -
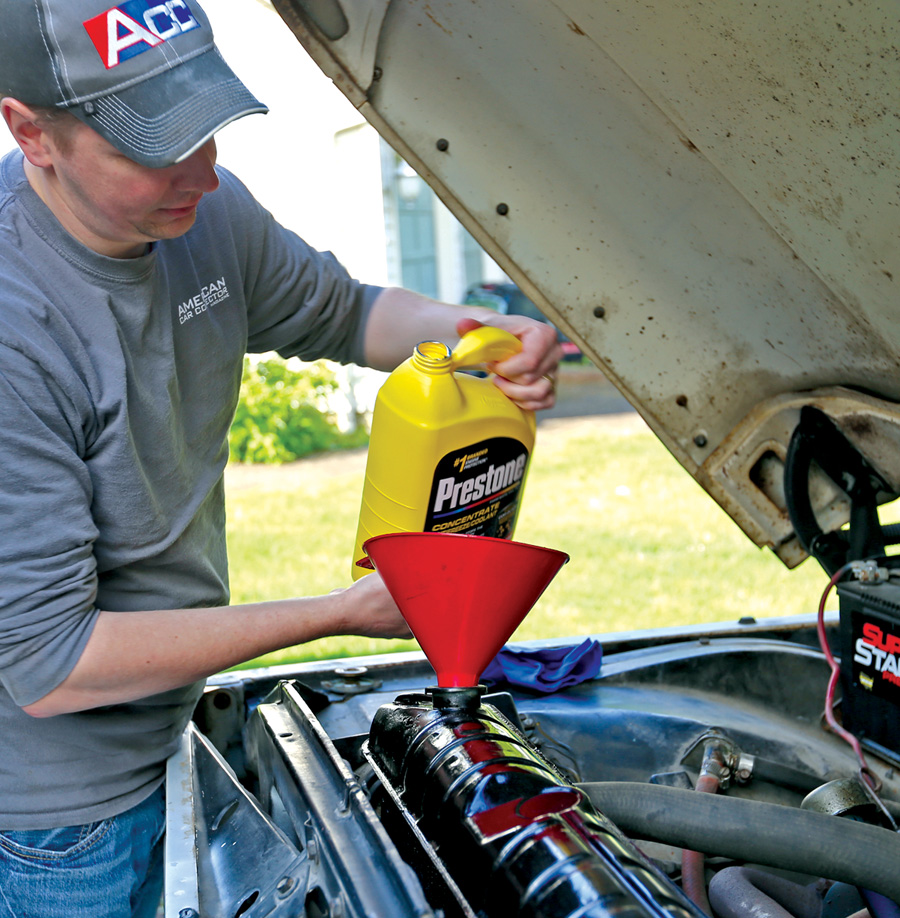
The final step was to fill the system with good, quality antifreeze. Prestone prevents corrosion thanks to its trademark Cor-Guard inhibitors, so it’s a good choice to keep that just-cleaned cooling system operating at its peak. Always shoot for a 50/50 mix of antifreeze and water. -
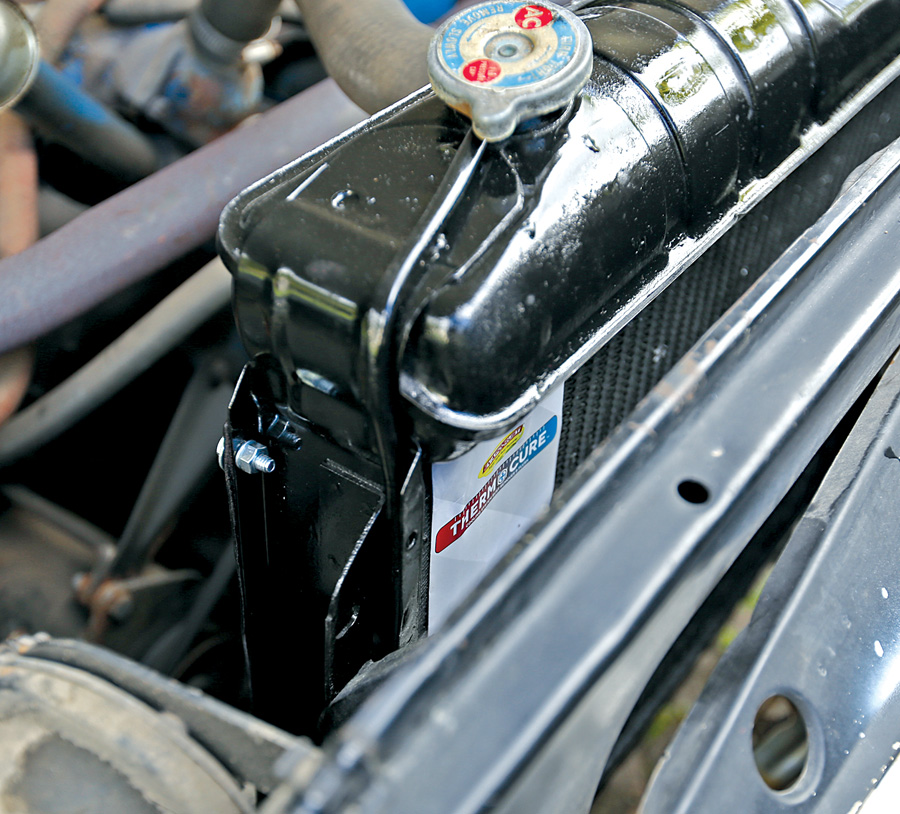
Proof of success is all in airflow — the fan is now only pulling air from the radiator core (instead of from everywhere under hood), and for the first time ever, this truck is using the entire surface of that radiator — so much so that our Thermocure brochure sucks right up to the face of the radiator edge and stays there, even at idle. -
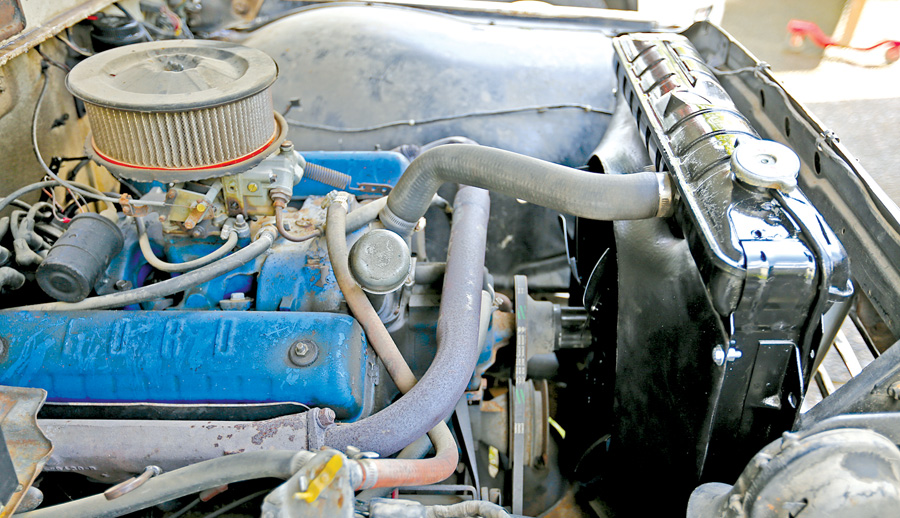
Our final result blends in relatively well — and will fit in even better as Chad continues to clean up the engine compartment of this ex-farm Ford. Now he need not fear any hot-day traffic, and he can turn it back to stock in a snap whenever he wants.
