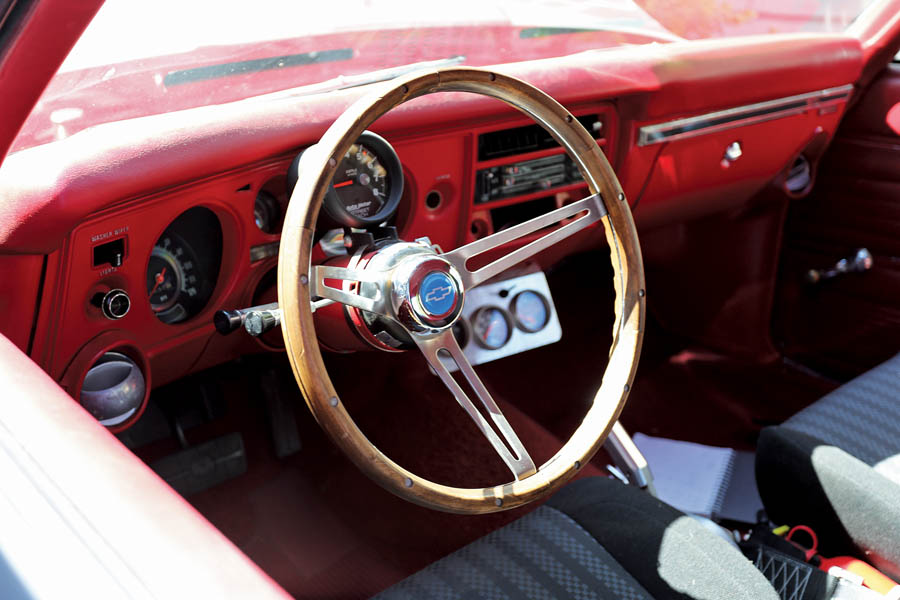
ACC practices what it preaches when it comes to driving our old cars. But the one thing that really leaves a lot to be desired, especially in cars from the 1960s, is steering effort — or in the sheer number of turns it takes from left lock to right lock.
A lot of factory steering boxes had four or more turns built into them. That might have been fine in the days of bias-ply rubber when more leverage was needed, but it isn’t ideal on today’s roads and with modern tires, especially if you intend to drive in modern traffic. But the fix here is really simple: install an upgraded steering box and lose one full turn — or more — in your steering from right to left.
Original Parts Group had just what ACC Contributor Jay Harden and I needed to turn up the turning abilities of his big-block 1969 Chevelle. It’s a simple, easily reversible bolt-in job that completely transforms how a muscle car reacts to steering input — and it hides, blending in as a stock box even in an original, restored car. Here’s how we did it.
Parts List
- Orginal Parts Group Chevelle Steering Gearbox, 1964–76 Quick Ratio Power, P/N C200005, $349.99
- Prestone power steering fluid, 1 quart, $6.49
Time spent: Two hours
Difficulty: 1/5
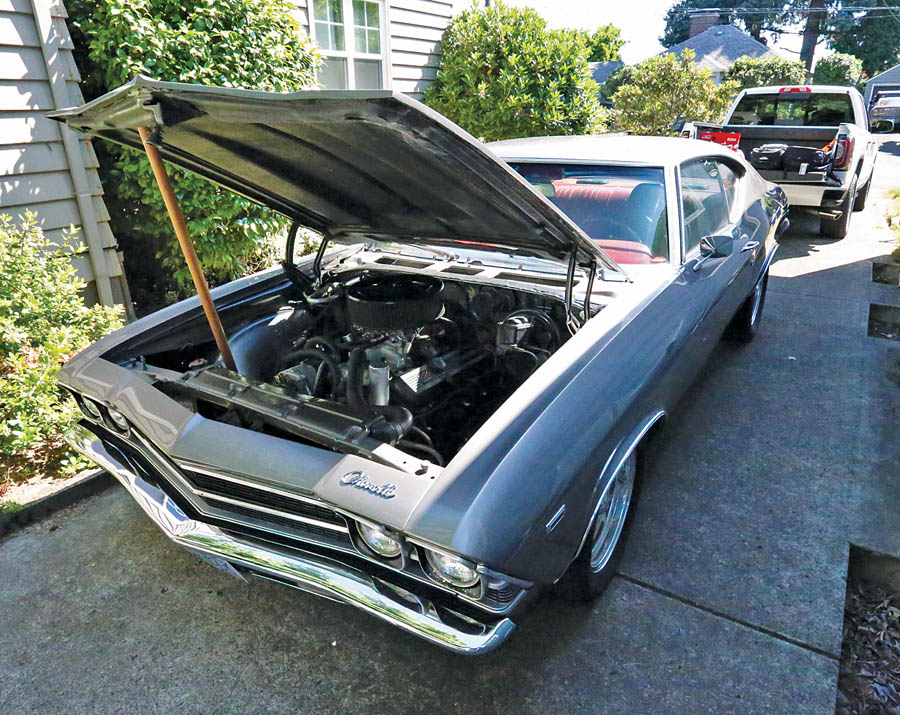
- We elected to tackle this steering-box swap in a driveway, as it’s a relatively simple job that doesn’t require much in the way of special tools. It’s the kind of thing you can tackle in your own driveway, assuming you’ve got a few hours to kill on a sunny day

- Jay’s car isn’t exactly stock, but this process is the same for any car with a power-steering box. This original unit featured a little more than four turns from lock to lock — that’s a lot of driver effort that’s needless on today’s modern rubber. Time for a swap.
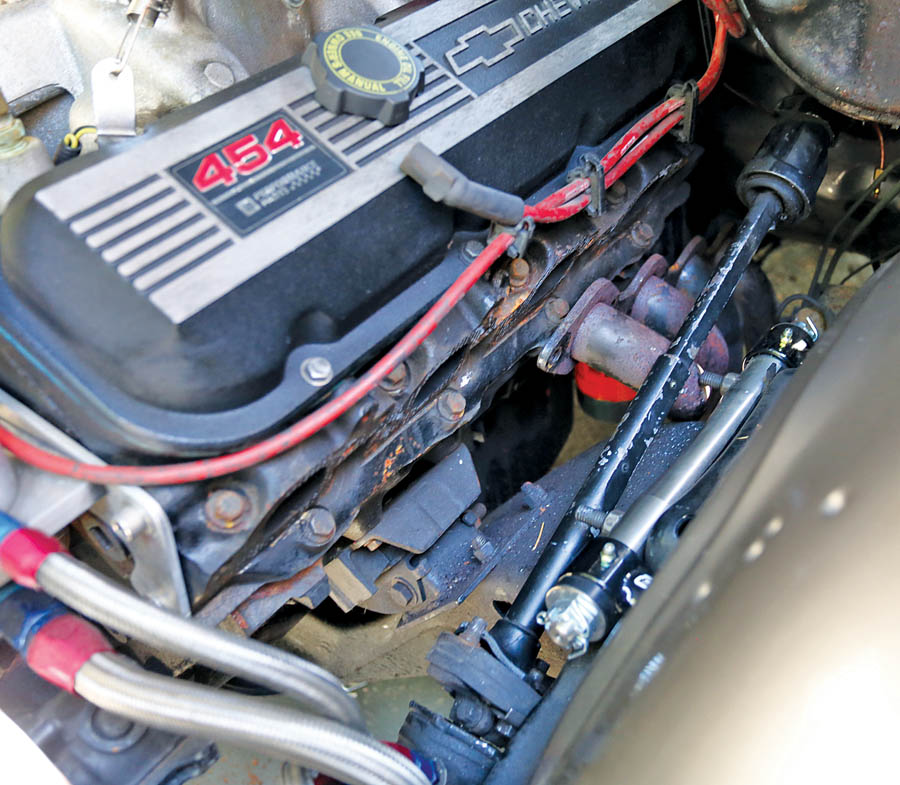 Headers are great for power, but they tend to get in the way when you’re wrenching. Rather than fight with tubes being in our way all day, we elected to just remove the driver’s side header. We had to jack the car up pretty high to get this header out, but it made a world of difference. Always use jack stands placed under the frame before sliding under a lifted car.
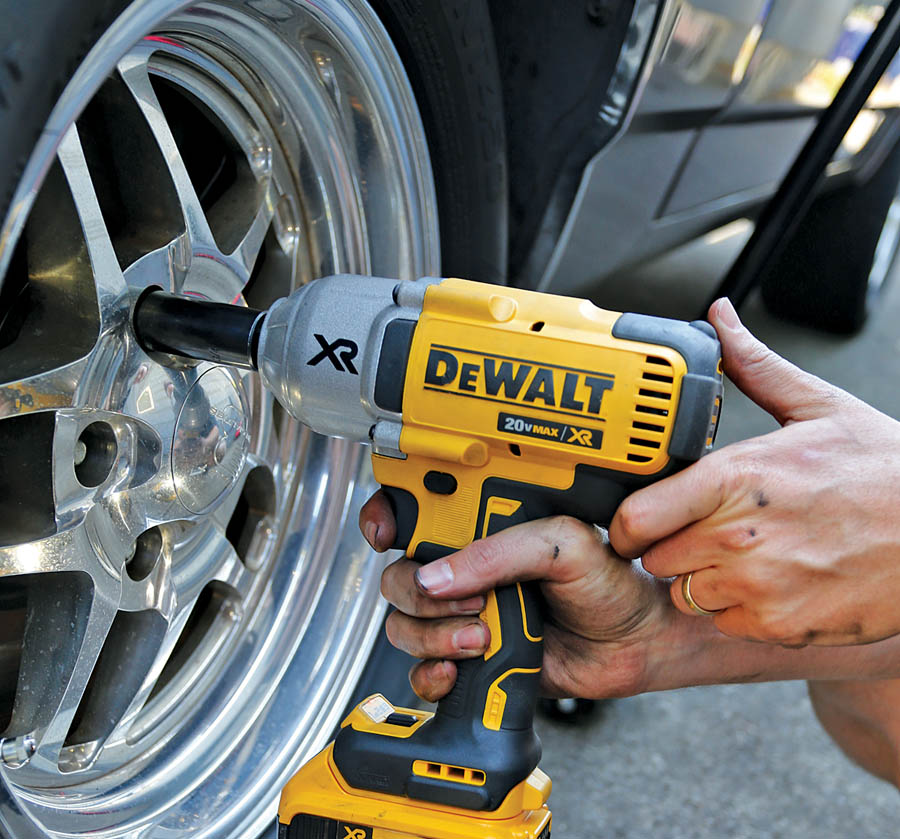 With the header out of the way, we removed the driver’s side front wheel, as that provided good access to the three bolts that hold the steering box to the frame, as well as the steering linkage. If you don’t already have a cordless impact wrench, now’s the time to get one, as it’ll make jobs like this a snap. We love the DeWalt XR series for its long battery life, adjustable speeds and brute power.
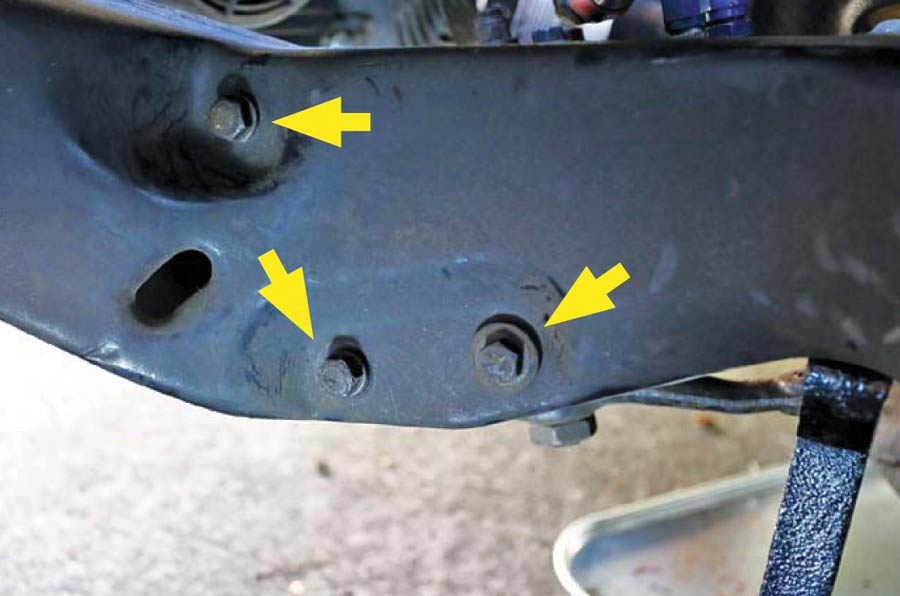 The steering box bolts are located just ahead of the front suspension inside the wheel well in this generation of GM A-body. If they’ve never been out, it’s smart to hit them with some rust penetrant so they can soak before you try to remove them.
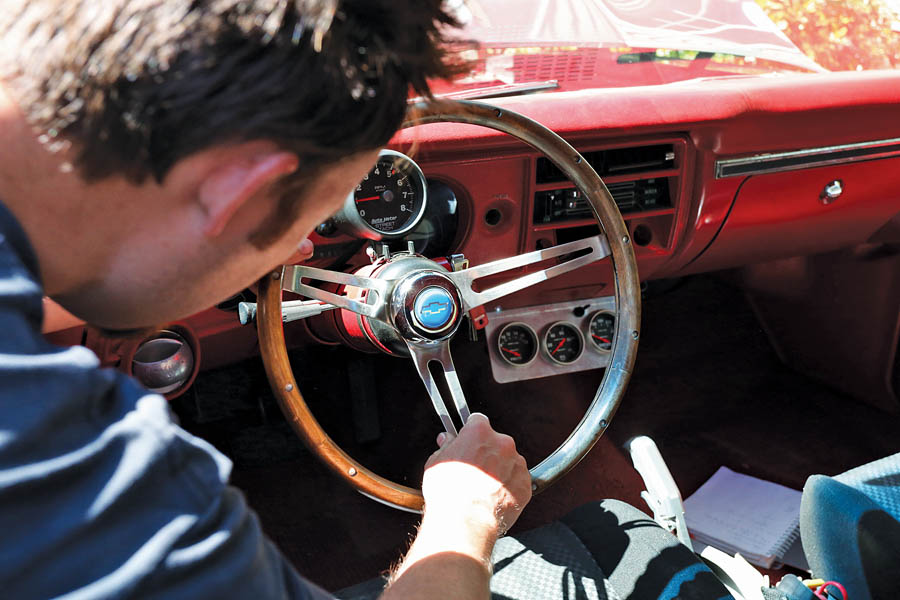 Before removing anything, we made sure the steering wheel was straight, so that once we tore the box out of the car, everything would go back together appropriately.
 The Chevelle’s steering operates with a pitman arm, an idler arm, a center link and four tie-rod ends. We’re only concerned with the pitman arm here, as it’s connected directly to the steering box we’re replacing. We removed the cotter key and loosened the 11/16 castle nut on the center link side. Then, using a hammer, smacked the center link on the side of the boss (not on the head of the joint or on the nut) until the tapered fit gave way, then removed it. This typically takes a couple of really good whacks.
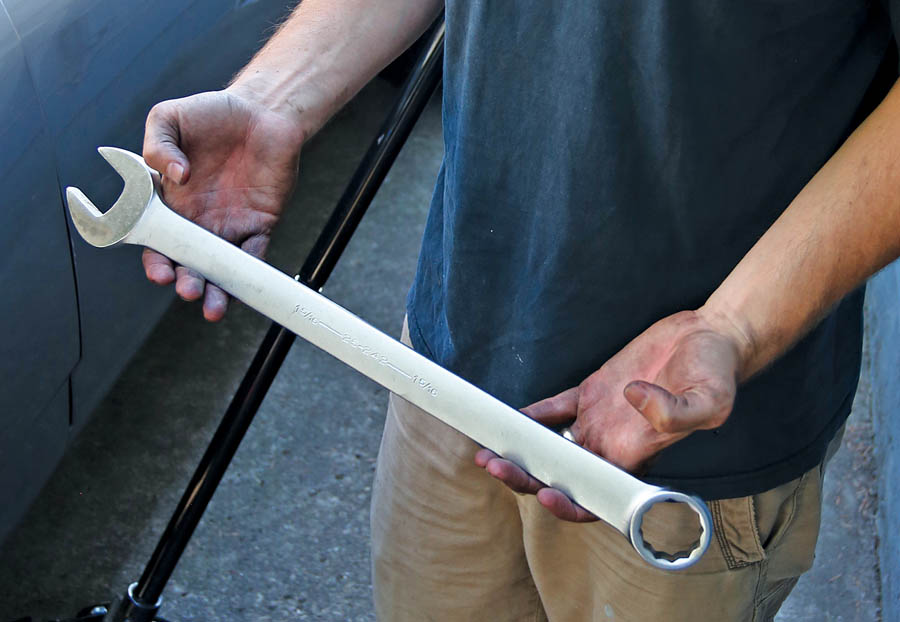 The pitman arm on this Chevelle is fixed to the steering box with a massive 1 5/16-inch nut — you could use an adjustable wrench here, but it’s not the best solution, as it may slip and round off the nut. Get the right wrench.
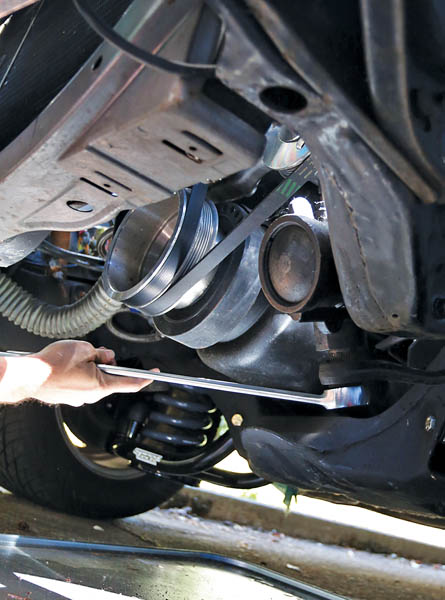 While the box was still in the car, we loosened the nut that holds the pitman arm to the steering box. There was no need to remove it completely — this was just the best time to do it, while the box was still torqued tight to the car.
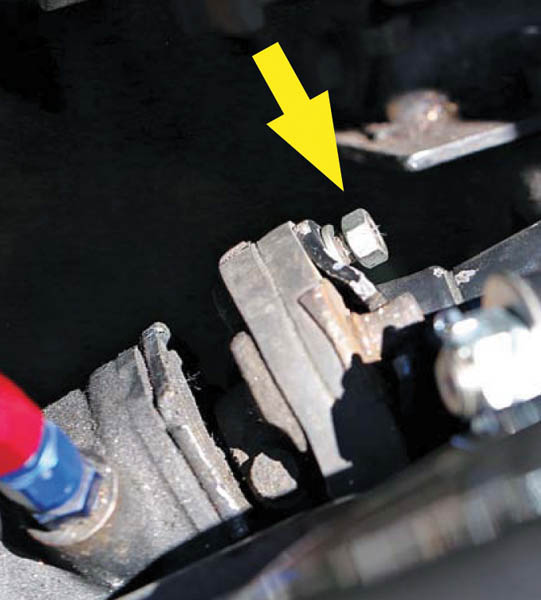 Next, we disconnected the steering shaft. The shaft is bolted to a rubber isolator on the steering box — some call it a rag joint. There are two nuts and bolts that hold the shaft to the steering box.
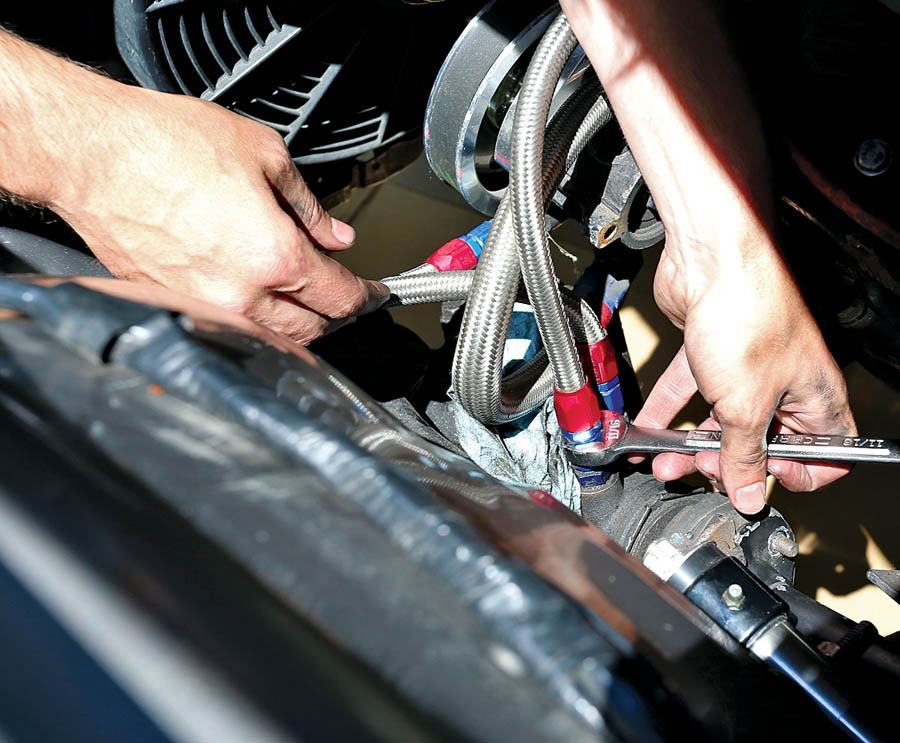 Jay’s car had been fitted with an aftermarket steering pump, reservoir, and braided steel line with -6 AN fittings. A factory car will have rubber line and steel ends, but the process is the same — we removed the pressure and return lines from the steering box and moved them out of our way. This will make a mess, so best to be prepared with a tray or hunk of cardboard under the car. Draining fluid is fine, as the system must be flushed regardless.
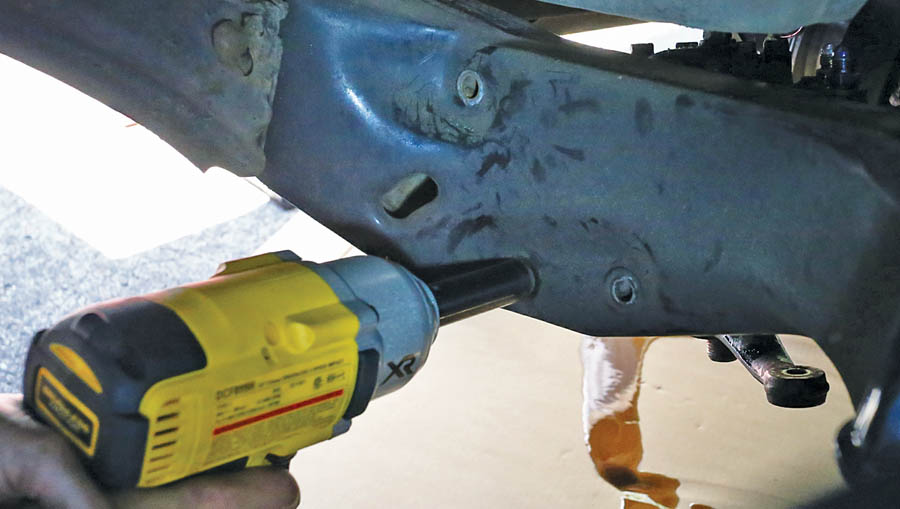 With the box loose from the steering shaft, the pitman arm loose from the rest of the steering linkage, and with the pressure and return lines both removed from the steering box, we removed the three mounting bolts with our impact wrench. The box itself is heavy, so have a friend hold it up while removing the final bolt.
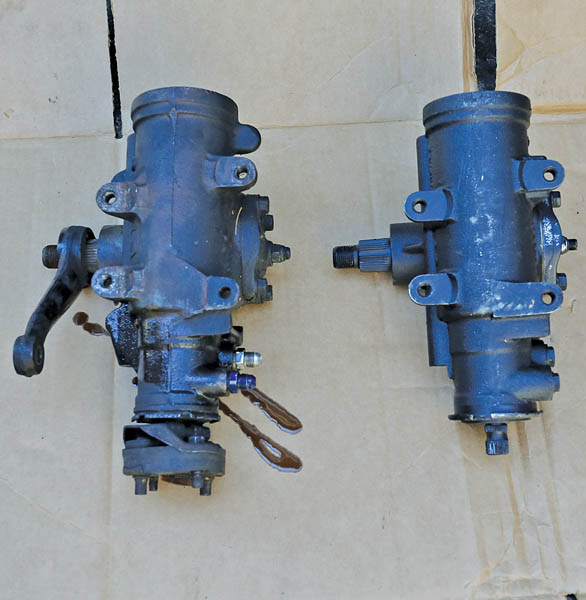 Here’s our old box (left) next to the fresh unit (right) — the two are visually nearly identical, but the new box is much quicker. Dropping a turn from lock to lock may not seem like much, but it’ll be a huge improvement in how the car runs down the road.
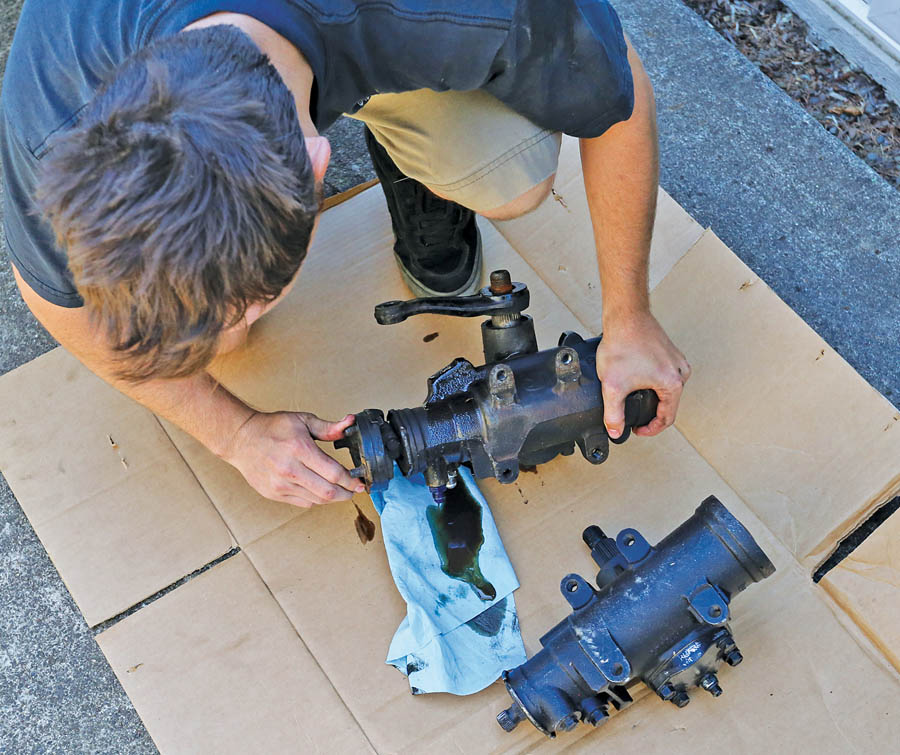 Using the old rag joint, Jay ran the box from lock to lock and then centered it, just to verify we did, in fact, have it lined up correctly. We then did the same thing with our replacement box. Note the mess it made, so be ready with a rag and some cardboard to catch the fluid that’s still inside — even the fresh box.
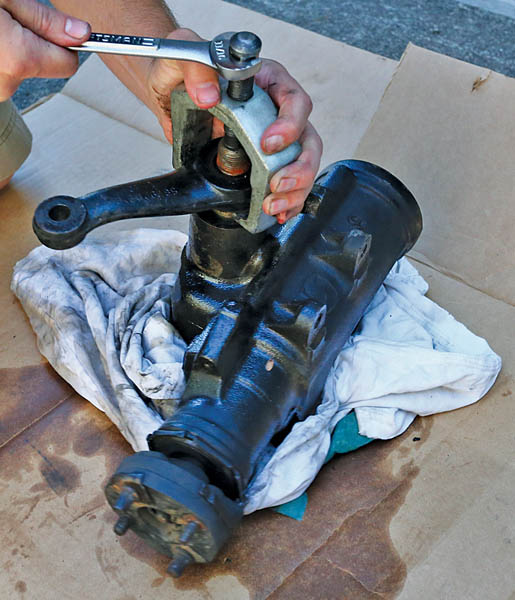 Getting the pitman arm off the box is a chore, but you can make it easy (and not damage anything) by renting a puller made specifically for the task. This one came from the local auto-parts house and took an 11/16 wrench. You can make the job go quickly by snugging up the puller’s bolt and then tapping on the end of it with a hammer to loosen up the pitman arm’s grip. Tighten, tap, repeat.
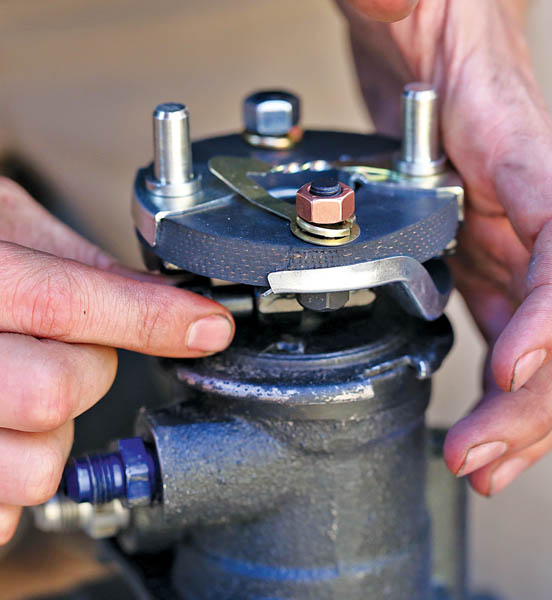 The OPG steering box is a great unit — and it comes with a new rag joint and the hardware to mount it. There’s a 12-point bolt that holds the new joint to the steering box. It must be removed before you can install the joint. We tapped our new joint into place carefully using a block of wood — you don’t want to damage the inside of the steering box by smacking it with a hammer. We then reinstalled and tightened it down. Note the swapped-in fittings for the steering lines.
 We pulled the steering shaft out of the car just to show that there’s a right and a wrong way to install it to the steering box — note the two different-size bolts on the rag joint. This can only go in one way, so be sure you have everything clocked right before trying to install the box in the car.
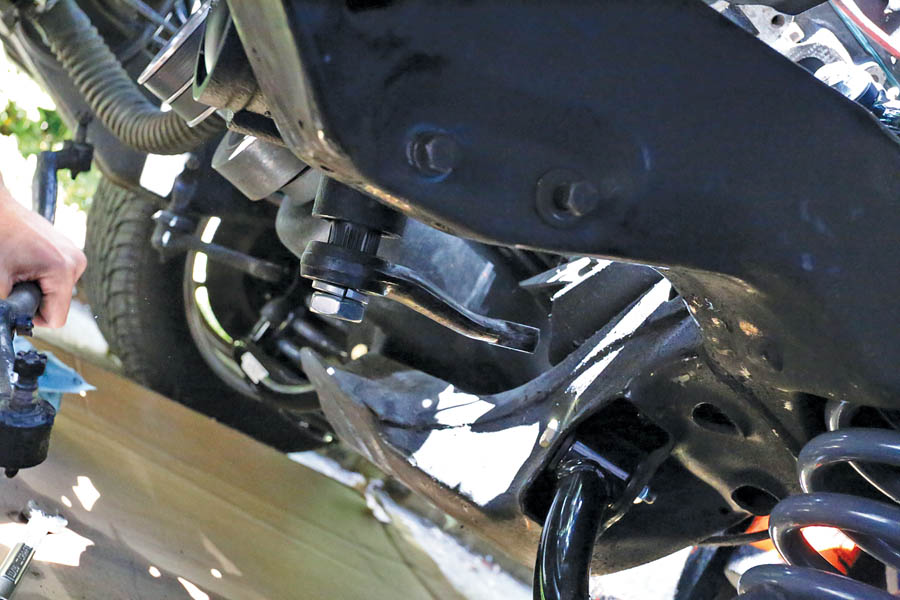 The moment of truth — we hoisted up the new steering box, lined up the steering shaft to the new joint, and then started the three bolts that hold the box to the frame. It’s best to leave the bolts loose until everything is lined up. We then reinstalled the pitman arm using the big wrench and the new nut and washer supplied in the kit. We then tightened everything down.
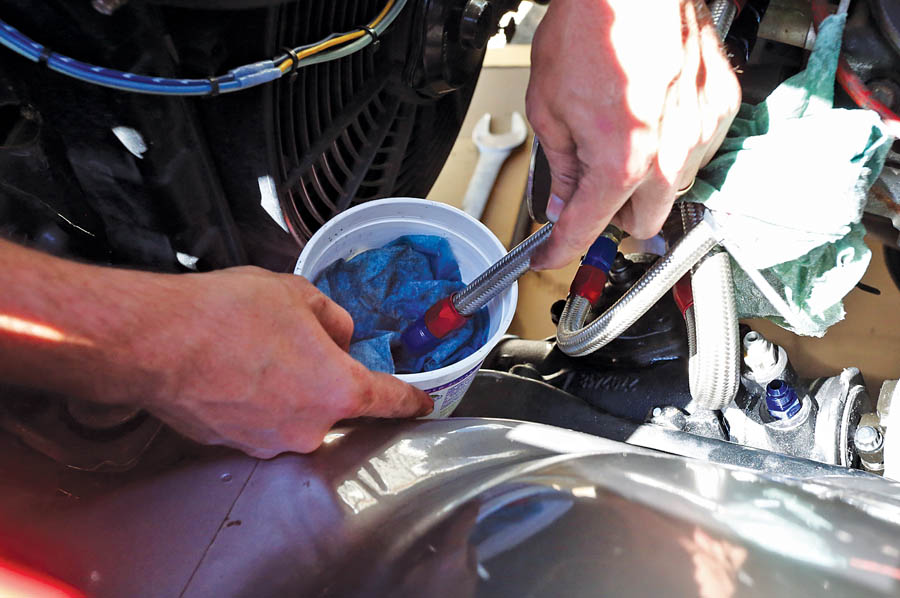 You must flush your power-steering system to maintain the steering box’s warranty. A lot of fluid will have come out on its own, but it helps to remove the power-steering pump and drain it manually. We also pulled the belt and ran the pump by hand until it was dry.
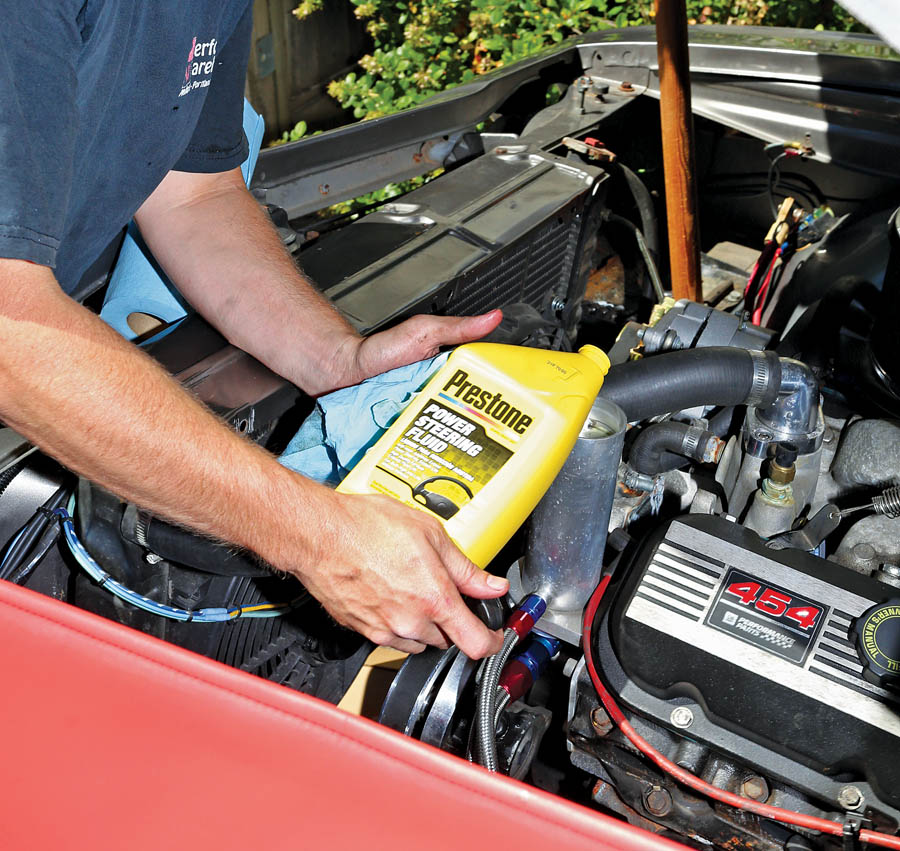 Once the lines were reattached, we filled the system with fresh power steering fluid. Prestone is a great choice, as it prevents corrosion, reduces wear and extends power-steering life. We then ran the steering from right to left, lock to lock, topping off as needed and checking for leaks as we went.
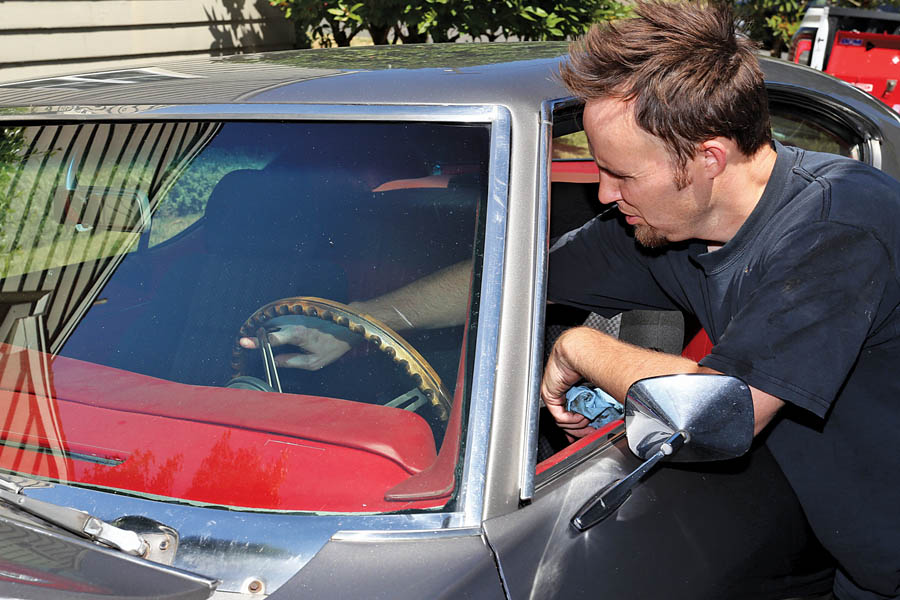 With the exhaust header reinstalled, the center link reconnected to the pitman arm, and the front wheel reinstalled and torqued, all that was left was to go for a drive to feel the difference in the new box from the old, checking again for proper fluid level once we’d ran the engine and cranked the wheel from lock to lock. With a quicker ratio, this car is a lot more fun to drive, and it reacts a lot faster, too — well worth the price paid for the new box and the couple of hours spent in the driveway. Best of all, OPG’s part looks factory, so there will be no demerits even for a stock Chevelle at any local car show.

